







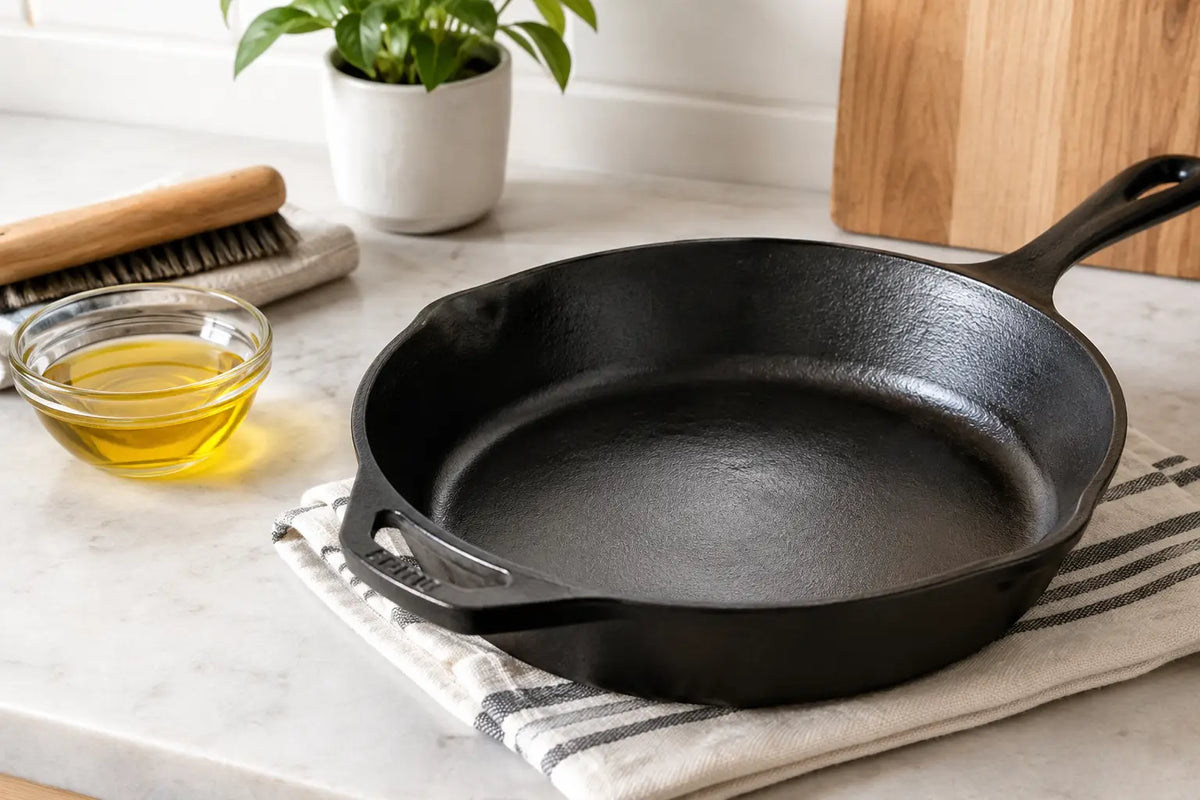
A cast-iron skillet earns its place on the stove slowly: through crisp-edged cornbread, weeknight vegetables, Sunday pancakes, and the occasional steak worth serving straight from the pan. To season cast iron is to build the finish that makes all of that easier. Done well, seasoning protects bare iron from rust and creates a dark, increasingly smooth cooking surface that improves with use.
The process is simple, but the details matter. Too much oil leaves a sticky film. Too little heat leaves the coating soft. And not every cast-iron piece needs the same treatment. This guide covers what seasoning is, how to do it properly, and how to care for a pan so it remains a practical, beautiful part of everyday cooking.
What It Means to Season Cast Iron
Seasoning is not a layer of grease sitting on the pan. It is oil that has been heated until it bonds to the iron through a process called polymerization. The result is a hard, thin protective finish. With repeated cooking and care, that finish becomes darker, more resilient, and easier to cook on.
A well-seasoned pan is not automatically as slick as a new nonstick skillet, particularly for delicate eggs on its first few uses. It does, however, offer excellent browning, heat retention, and durability without a fragile coating to worry about. Cast iron rewards regular use, and a little patience is part of its heritage craftsmanship.
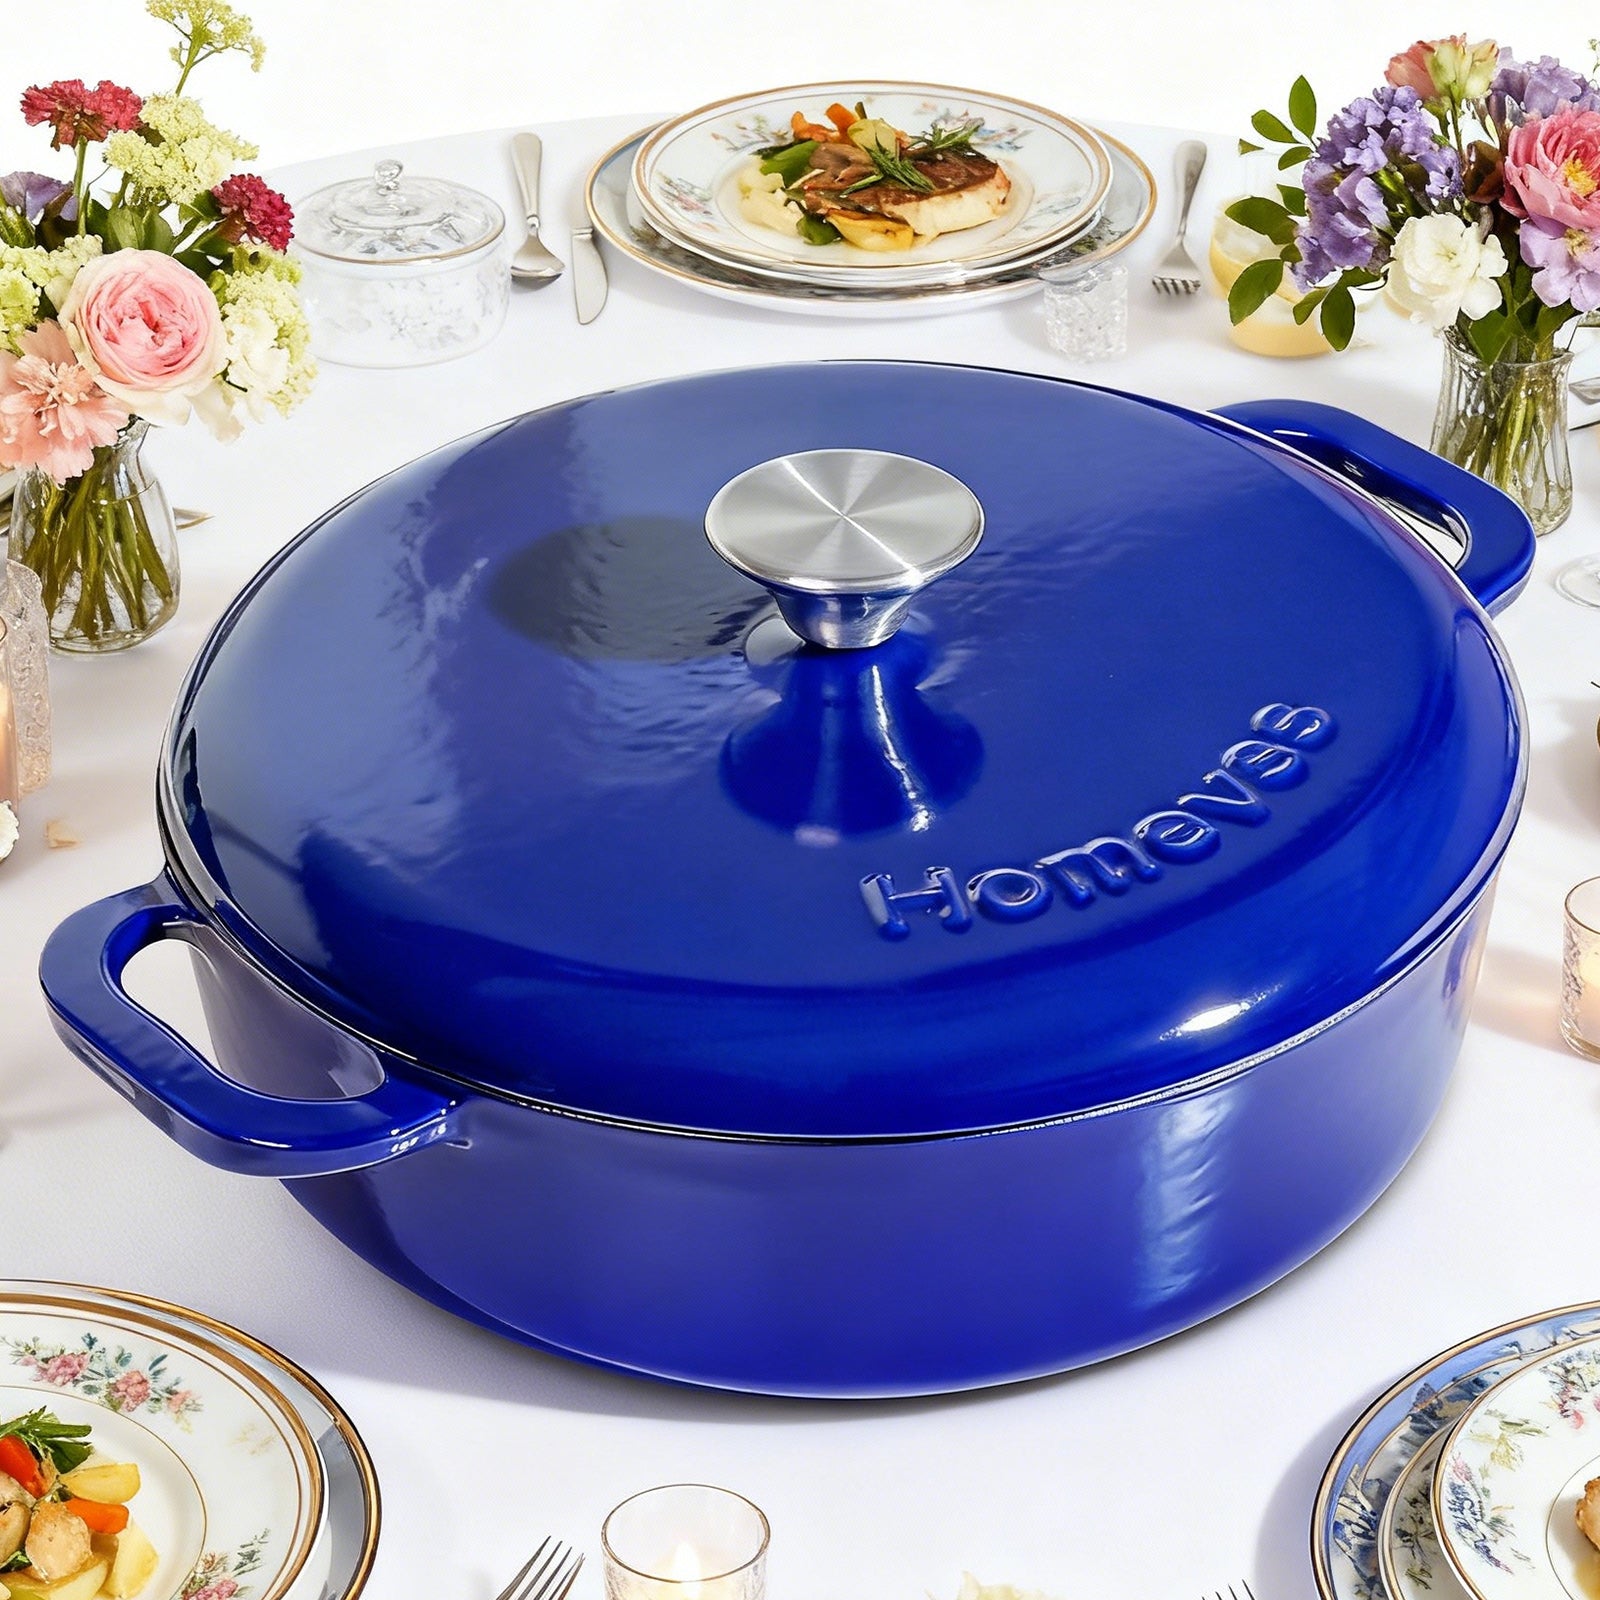
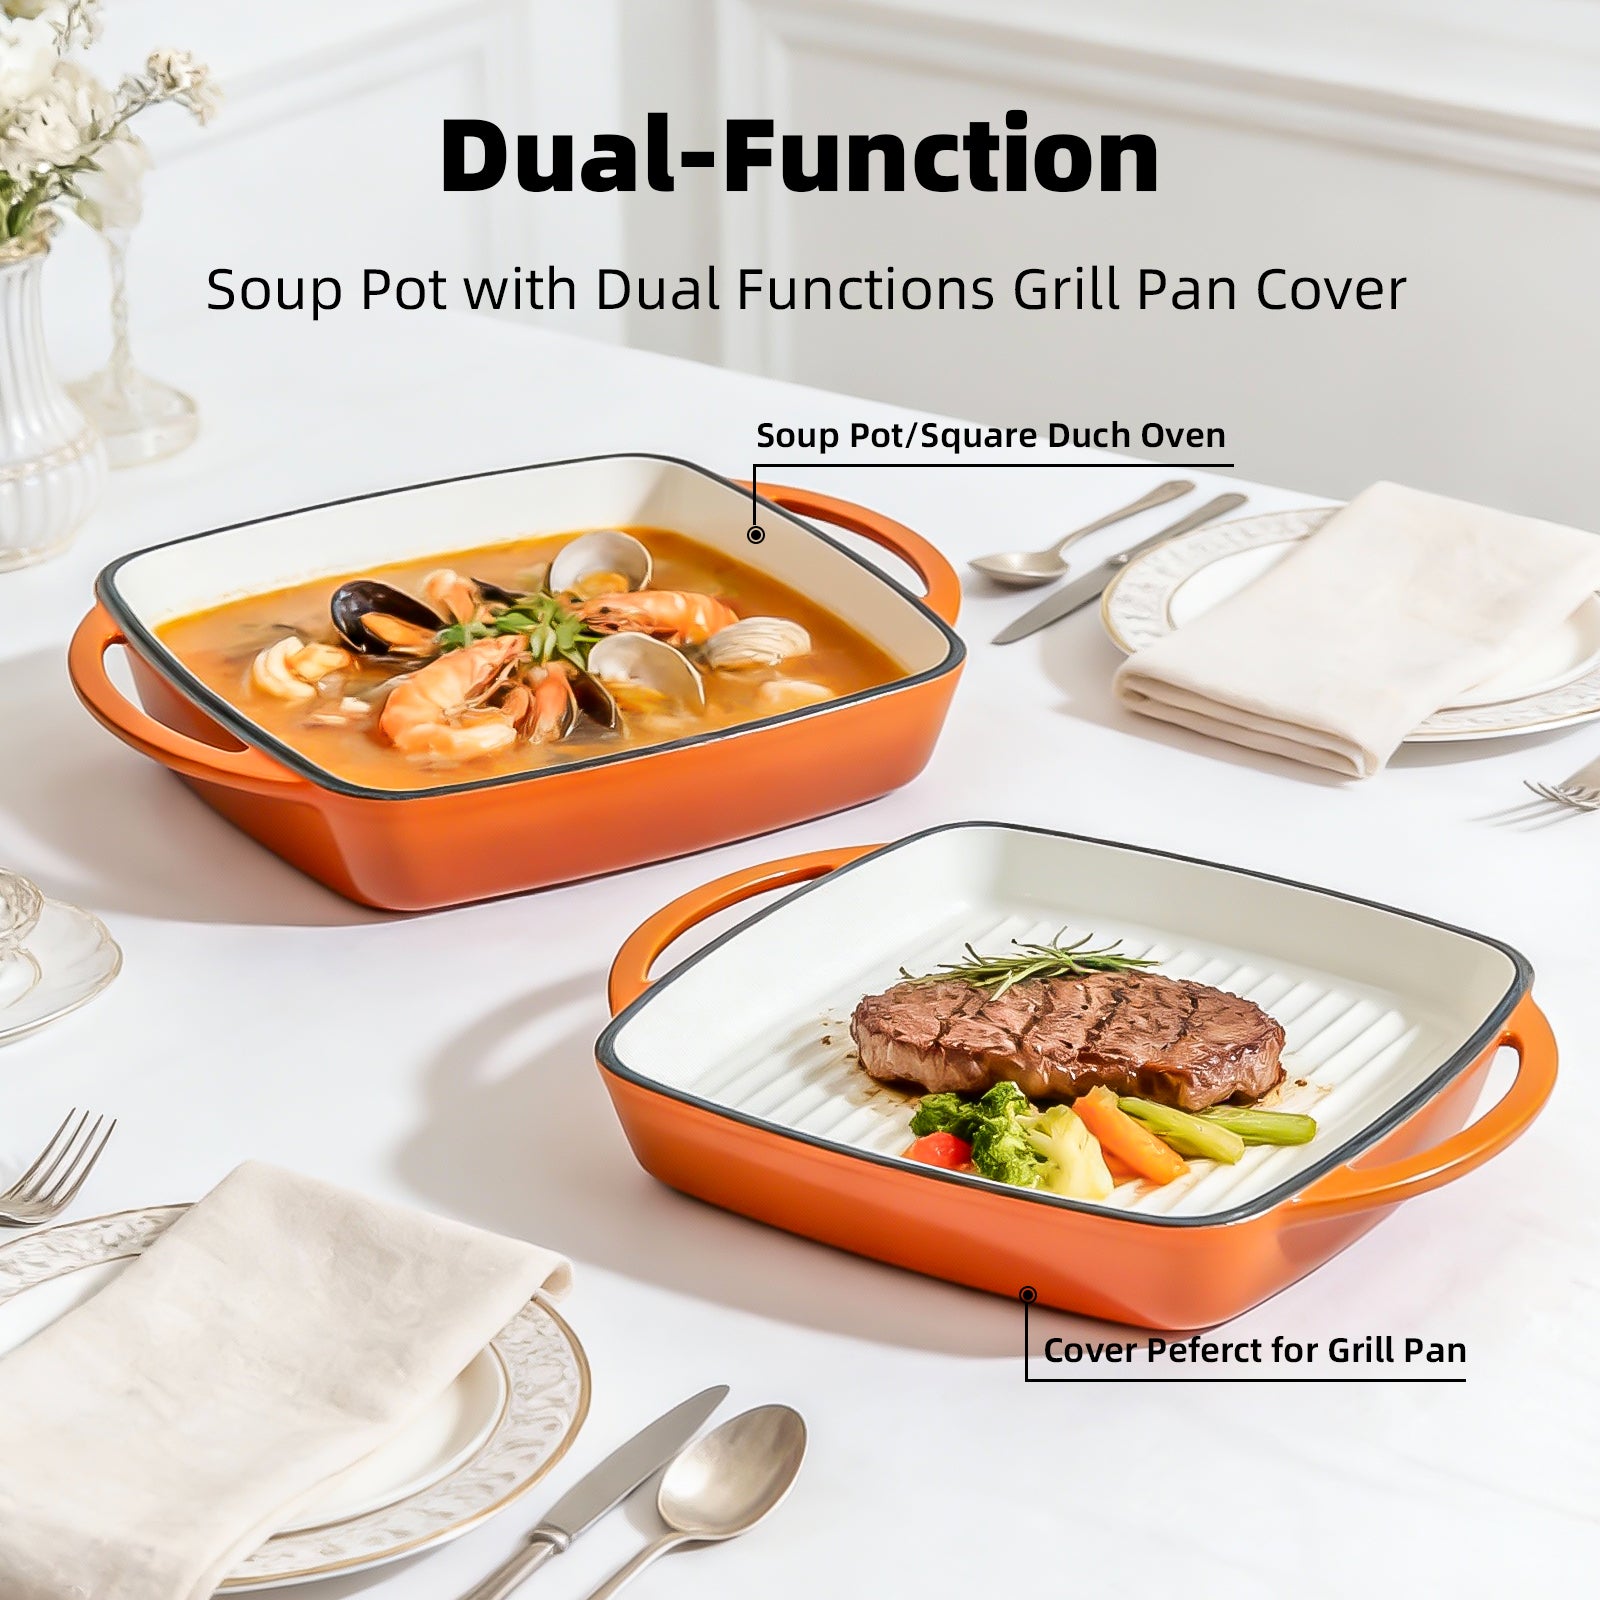
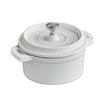
Before starting, identify your cookware. Traditional bare cast iron needs seasoning. Enameled cast iron does not - its porcelain-like enamel is already the protective surface. Seasoning an enameled Dutch oven or casserole can create residue rather than improve performance. If the cooking surface is matte black bare iron, proceed. If it is smooth, colored enamel, simply wash and use it according to its care instructions.
How to Season Cast Iron in the Oven
An oven provides even, sustained heat, making it the most dependable method for a new pan, a pan that has developed rust, or cookware that has lost its finish. Choose an oil with a relatively high smoke point and a neutral flavor, such as grapeseed, canola, vegetable, or avocado oil. Many cooks favor grapeseed oil because it creates a thin, durable coating, but the best choice is often the oil you will use consistently.
1. Start with a clean, dry pan
Wash the pan with warm water and a small amount of mild dish soap if it is new, rusty, or has stubborn residue. Modern dish soap is fine when needed; the concern is leaving the pan wet, not a brief wash. Dry it thoroughly with a towel, then place it on a warm burner for a minute or two to evaporate moisture from the pores of the iron.
If rust is present, scrub it away first with a stiff brush, coarse salt, or steel wool. Rust is not a reason to discard a good cast-iron skillet. It simply means the protective layer has been compromised and needs to be rebuilt.
2. Apply the thinnest possible coat of oil
With a lint-free cloth or paper towel, rub oil over the interior, exterior, handle, and rim. Then take a fresh towel and wipe away nearly all of it. The pan should look softly burnished, not wet or glossy.
This is the step people most often underestimate. A heavy coat of oil does not create stronger seasoning. It can bake into tacky patches that feel sticky even after cooling. Several very thin layers are far more effective than one thick one.
3. Bake it upside down at high heat
Set the oven to 450°F to 500°F. Place the pan upside down on the center rack, with a sheet pan or foil on the lower rack to catch any drips. Bake for one hour, then turn off the oven and let the cookware cool inside until safe to handle.
The upside-down position prevents excess oil from pooling in the cooking surface. A little smoke is possible, especially with oils near their smoke point, so good kitchen ventilation is helpful. If your home is particularly smoke-sensitive, use a temperature at the lower end of the range and make certain the oil layer is exceptionally thin.
4. Repeat if the pan needs a stronger foundation
One oven cycle is enough to protect a new pan, but two or three cycles create a more established starting surface. This can be useful before cooking sticky foods or after restoring a heavily rusted skillet. Let the pan cool between coats, apply another nearly invisible layer of oil, and repeat the process.
Do not expect a mirror-like black finish immediately. New seasoning often begins bronze, brown, or unevenly dark. Regular cooking, especially with fats, will deepen the color naturally.
The Everyday Habits That Keep Seasoning Strong
Once your cast iron is seasoned, routine care is less demanding than its reputation suggests. After cooking, allow the pan to cool enough to handle, rinse with warm water, and use a brush or pan scraper to remove food. For stuck-on bits, add a little water and gently simmer it for a minute before scraping. Dry the pan promptly over low heat, then wipe on a tiny amount of oil while it is still warm.
There is no need to fear mild soap. A small amount can be useful after cooking strongly scented or greasy foods, and it will not strip well-established seasoning in one wash. What can cause trouble is soaking cast iron for long periods, running it through the dishwasher, or storing it while damp. Iron and standing water are not a good pairing.
Acidic dishes deserve a little judgment. A quick pan sauce with wine, tomatoes, or lemon is usually fine in a mature skillet. A long-simmered tomato sauce in newly seasoned cast iron may taste metallic and can weaken the finish. For prolonged acidic cooking, an enameled Dutch oven is the better choice. It offers cast iron's steady heat while giving sauces and braises a nonreactive cooking surface.
Common Seasoning Problems, Solved
A sticky pan usually means too much oil was applied or the pan did not get hot enough for long enough. Wash away the tacky residue, dry the pan, and bake it again with an almost imperceptible coat of oil.
Flaking seasoning can look alarming, but it often means an uneven layer has built up rather than that the cookware is ruined. Scrub away loose material, smooth the surface as needed, and re-season. Heavy black flakes may also be carbonized food residue, particularly around the rim or exterior, so regular cleaning prevents confusing buildup with seasoning.
If food starts sticking, first check your cooking method. Cast iron needs time to preheat, and cold food added to a barely warm pan is more likely to grab. Use a modest amount of cooking fat and let proteins release naturally before turning them. If sticking continues after proper preheating, refresh the pan with one oven seasoning cycle.
Rust spots are equally manageable. Remove the rust, dry the pan completely, and reapply seasoning. A small spot caught early is a quick repair, not a permanent flaw.
Cooking That Builds a Better Surface
The first few meals after seasoning can help the finish settle in. Sautéed vegetables, bacon, grilled cheese, cornbread, roasted chicken, and shallow-fried potatoes are all forgiving choices because they use some fat and do not demand a perfectly slick surface. High-heat searing also plays to cast iron's strengths, provided the pan is preheated gradually rather than shocked over maximum heat.
Save delicate fish, crepes, and a low-fat fried egg for when the pan has seen more use, or use enough butter or oil to support the recipe. This is not a limitation so much as a reason to choose cookware thoughtfully. The right pan makes cooking feel calmer, whether that means a seasoned skillet for a golden crust or an enameled vessel for a slow, tomato-rich braise.
Cast iron is designed to be used, not stored away for special occasions. Keep it dry, cook with it often, and refresh the seasoning when the surface asks for it. Over time, the pan will carry the quiet evidence of family meals and confident hosting - a hardworking piece of cookware with a finish that becomes more personal with every meal.



Leave a comment
This site is protected by hCaptcha and the hCaptcha Privacy Policy and Terms of Service apply.